Friday, October 28

Tutorial: Lollipop Holder


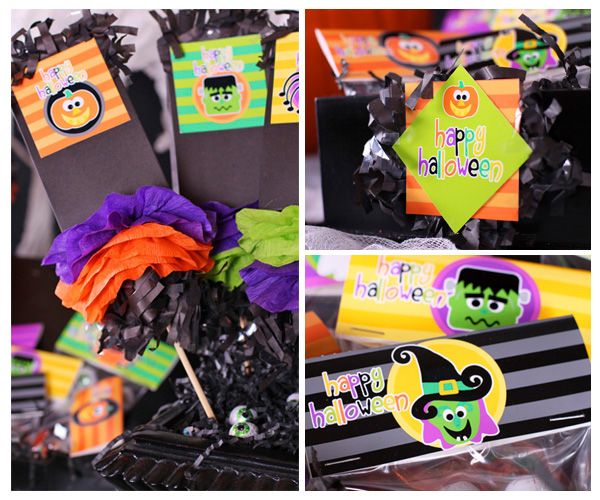
Do you ever wonder how all these talented party people get their lollipops to stand up perfectly straight? It's so easy, you won't believe it! With a little piece of wood and a drill with the right size drill bit, you can do it, too, in just a few minutes.

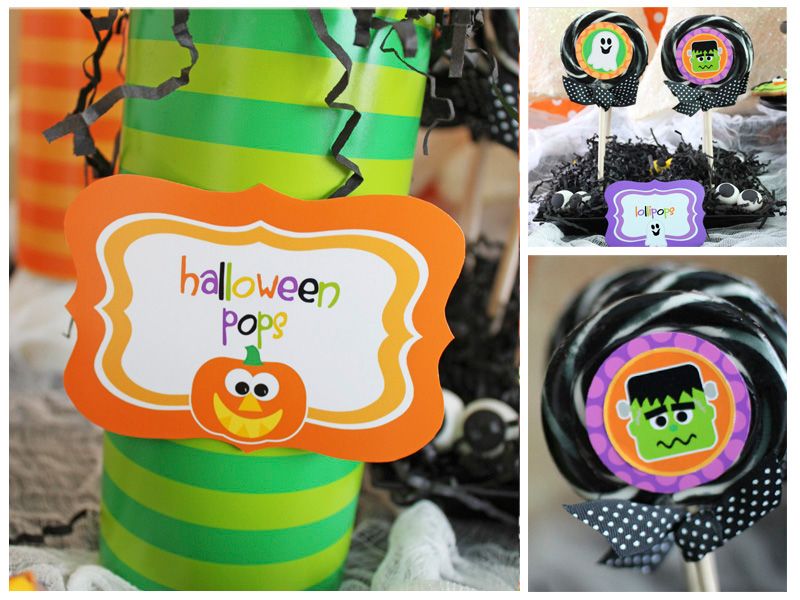
Choose a serving piece for your lollipops. I chose a black square platter that I had on hand for this party table, but you could use a plate, a cardboard box, etc. Cut your wood to fit inside your serving piece. I found this piece in a scrap pile in the garage and got super lucky - it fit right inside my platter with no cutting! 

STEP 1: Next, grab a drill bit that is approximately the same size as your lollipop stick and drill holes for each of your lollipops into your wood piece.

STEP 2: After you've drilled all of your holes, start inserting your lollipops in the holes. If some wobble a bit, you can use a small dab of hot glue to get them to stand a little straighter. Not too much though - you still want to be able to remove the suckers easily at the party.

STEP 3: Use a little shredded paper to hide the wood and make your platter pretty.

STEP 4: Admire your work! Easy!


Thursday, October 27

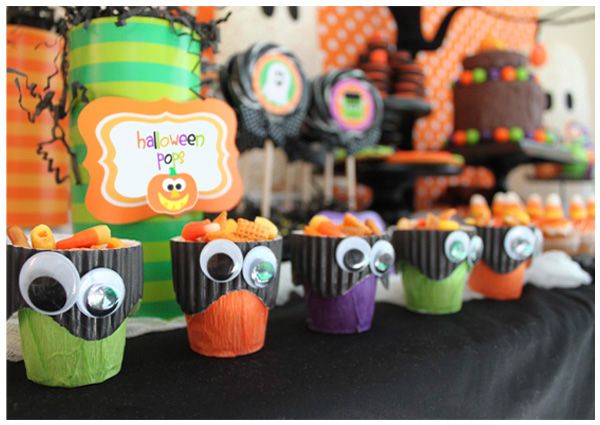
Tutorial: Crepe Paper Snack Cups


Love these little cups? Me, too!

And best of all, they're super easy to make! I used them on my Halloween party table but they would be great for monster themed parties and as sweet little treats for classroom friends. You could put a few candy corns or other Halloween candy inside and wrap them in cellophane to give out as class treats.


HERE'S WHAT YOU'LL NEED:

Small plastic or paper cups
Crepe paper
Glue
Paint brush
Scissors
Googley eyes
Corrugated black cardboard bulletin board edging (I bought mine at Hobby Lobby)


Follow the steps in the above photos and that's all! Easy and quick!


Don't they look so cute on the Halloween Party table?
Be sure to check out all the details on the Halloween Party table here.


Wednesday, October 26

Tutorial: Pin the Nose on the Pumpkin


One of the things I loved most about the HALLOWEEN PARTY I posted about yesterday was the DIY projects with crepe paper. Crepe paper is such a wonderful medium for crafting. It's inexpensive, widely available and comes in so many colors. When Kristyn from Lil Luna showed me her Monster Party game made from crepe paper, I knew immediately that I should create a Pin the Nose on the Pumpkin game for my Halloween Party.

This project only cost about $4.00 to make, too! You will need to have a sewing machine to make the crepe paper ruffles, but once those are made, the pumpkin will come together in no time at all!

WHAT YOU'LL NEED:
- 2 pieces of foam core board from the Dollar Tree
- Roll of orange crepe paper
- Roll of green crepe paper
- Large googley eyes (or make your own from construction paper)
- Mouth and nose print outs from the Amanda's Parties To Go Halloween Printables set (or make your own from construction paper)
- Duct tape
- Hot glue gun

1. Tape your boards together to create one larger board
2. Freehand draw a simple pumpkin shape across the width of the two boards
3. Cut your pumpkin shape out with scissors
4. Admire your work!
5. Make your ruffled crepe paper by sewing 2 pieces of crepe paper placed one on top of the other and zig-zagging down one edge)
6. Open up the ruffled crepe paper to create a larger ruffled piece


7. Glue the crepe paper strips down onto the foam core pumpkin
8. Repeat until the entire board is covered with crepe paper ruffles
9. Make a few pieces of green crepe paper ruffles and glue them down on the stem of the pumpkin
10. Cut out your mouth and nose pieces from the Halloween printables, or create your own with some construction paper. I also used some large googley eyes for the pumpkin's eyes, but you can make your own eyes as well.


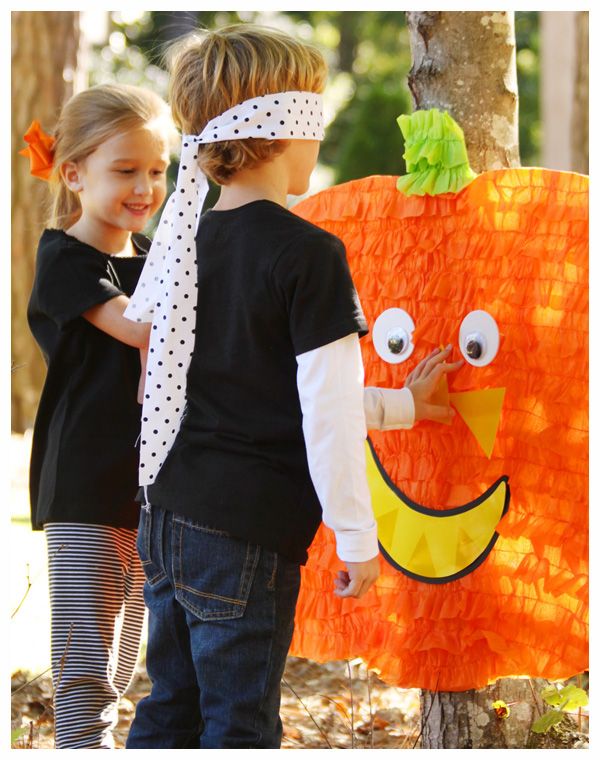
Now you're ready to play! Blind fold the kids with a simple scrap of fabric, spin them around a little and give them a nose piece with some tape adhered to the back. Let them take turns placing the nose on the pumpkin and make sure you have some fun little treats to give away after the game.

This would be a fun little game to take to school parties, too. And don't forget the mummy wrap with toilet paper - that one is always a big hit with the kids! 
Hope you enjoyed the tutorial!

Monday, October 24

Halloween Dessert and Party Tables

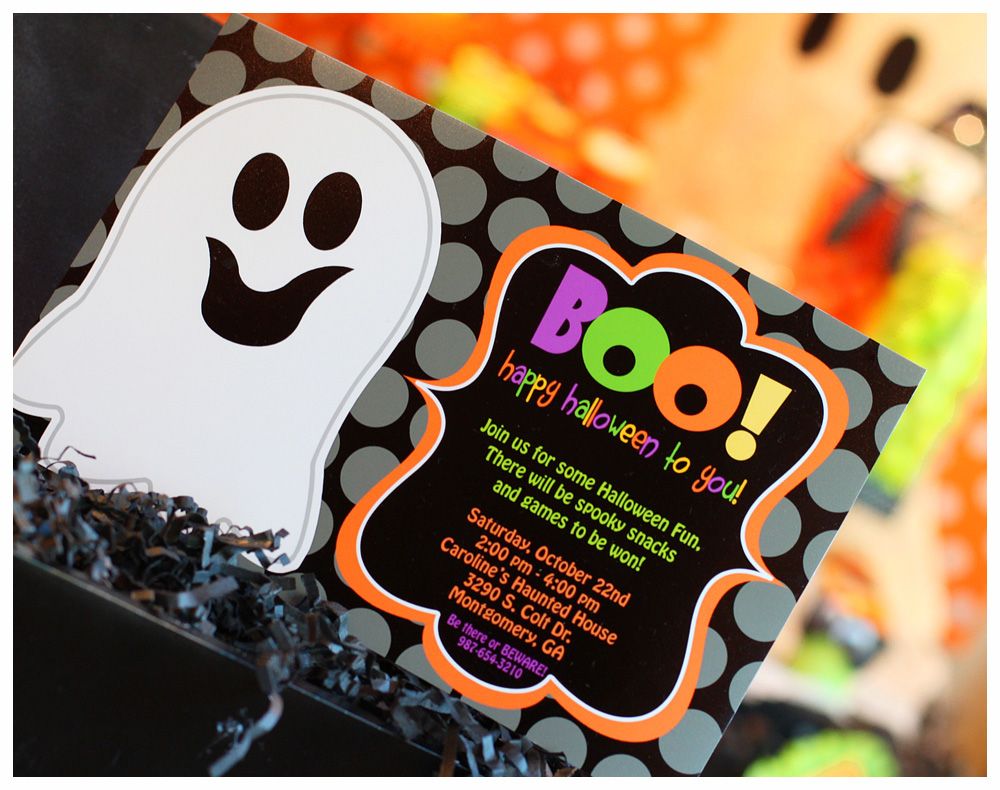
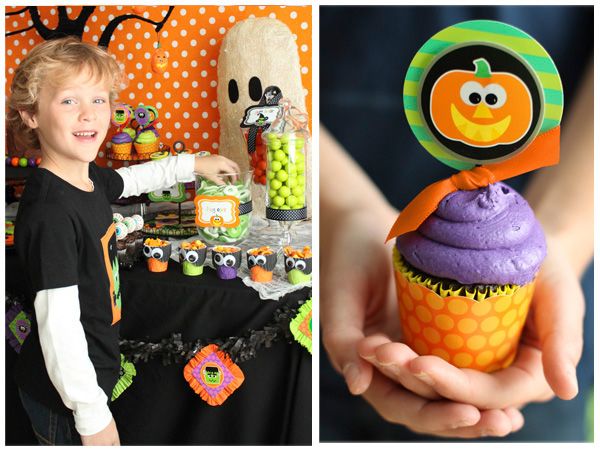
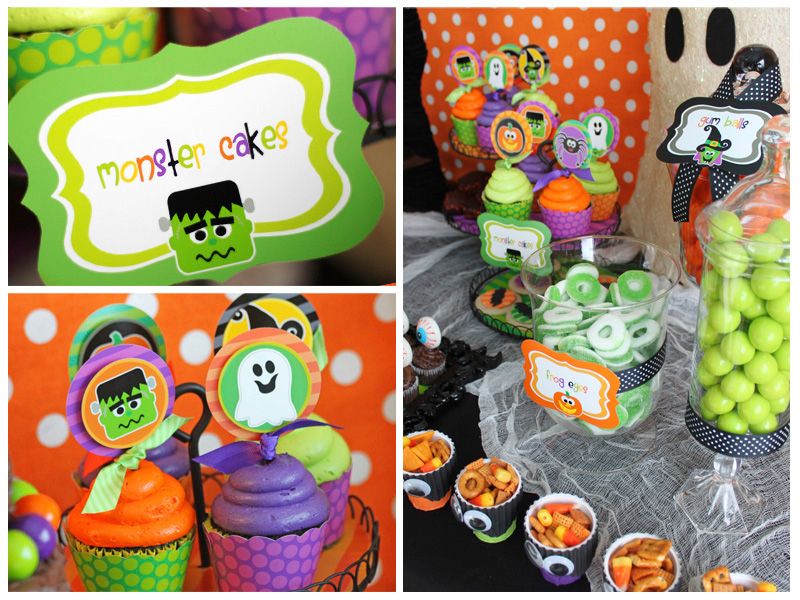
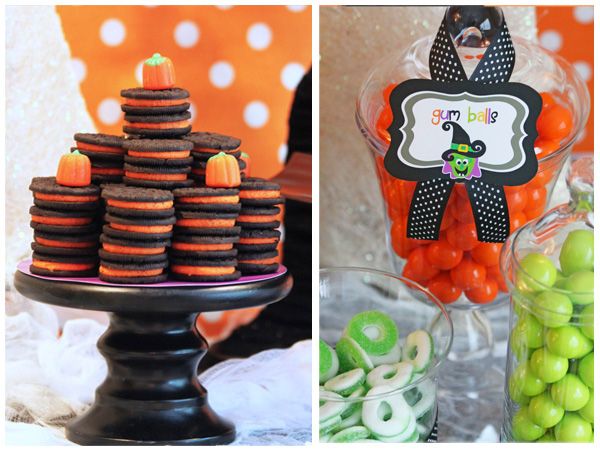
Today I wanted to share some new Halloween party photos I've been working on to showcase the HALLOWEEN PRINTABLES collection I released this season (on sale now for only $9.00!). This set is so much fun for little ones with bright colors and bold graphics -- makes me wish I was little again! Enjoy the photos - details to come at the end of the post.

Photobucket

Photobucket

Photobucket

Photobucket

Photobucket

Photobucket

Photobucket

Photobucket

Photobucket

Photobucket

Photobucket

Photobucket

Photobucket

Photobucket

Photobucket

Photobucket

Photobucket

Photobucket

Photobucket

Photobucket

Photobucket

Photobucket

Photobucket

Photobucket

Photobucket

Photobucket

Photobucket

Photobucket

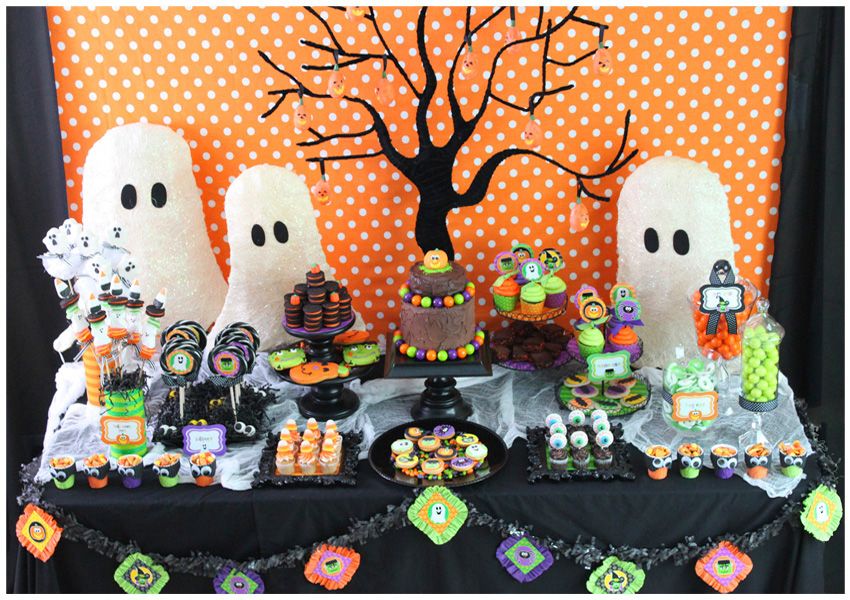
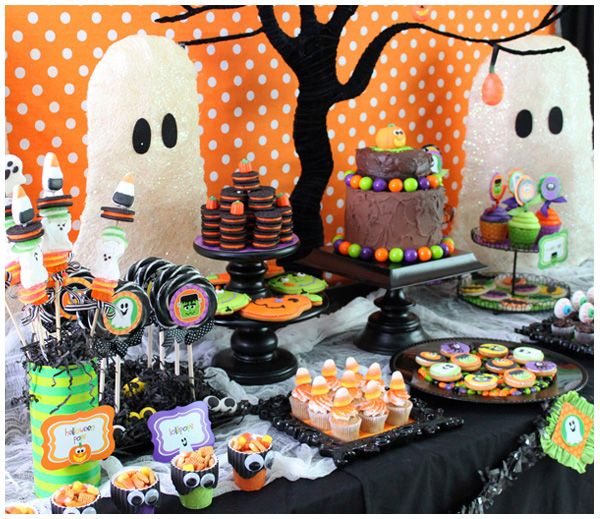
Halloween is such a fun time of year, but can sometimes be a bit scary for the little ones. WIth that in mind, I wanted to design a whimisical, child-like Halloween party with lots of cute characters and bright colors sure to "thrill" and not scare our little ones away. 

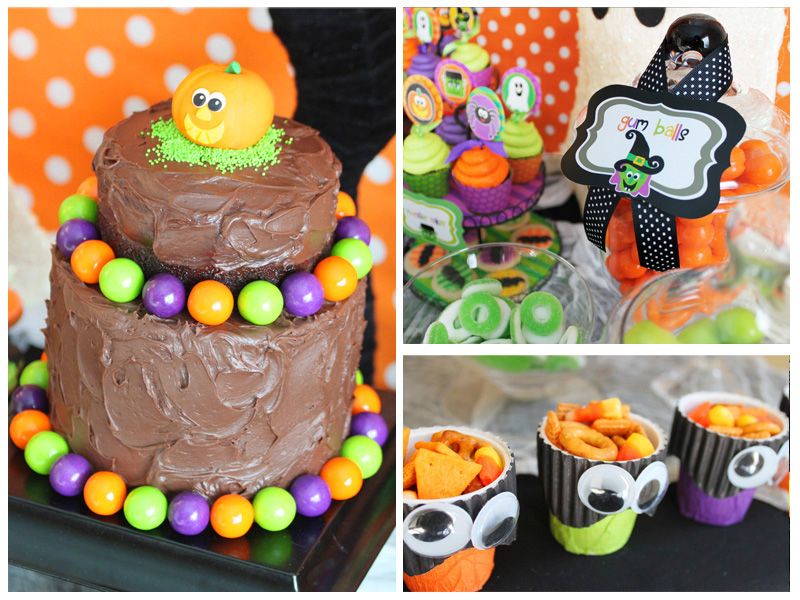
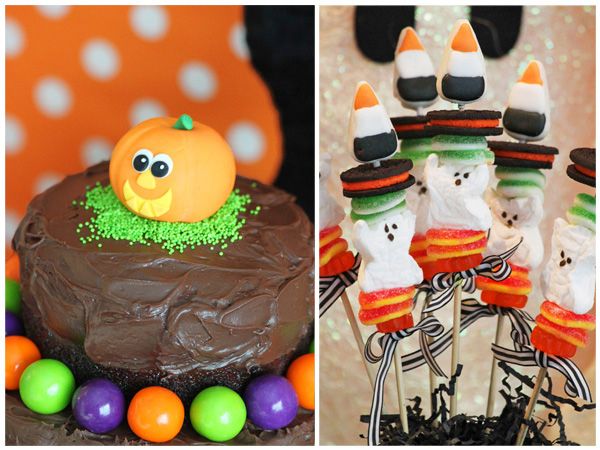
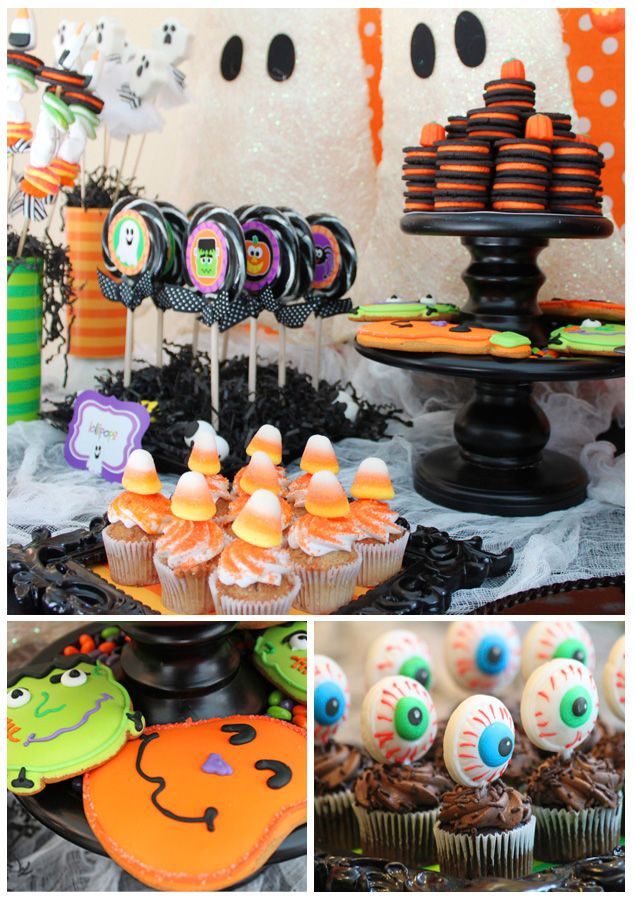
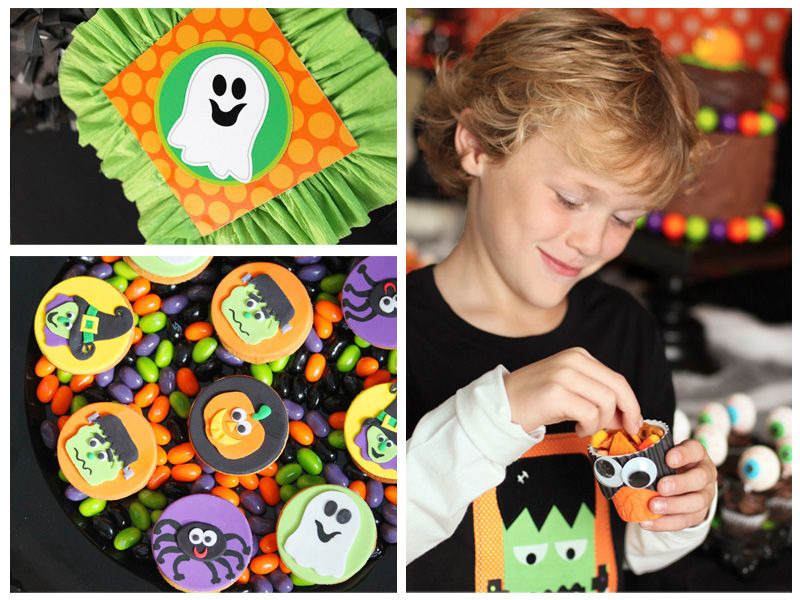
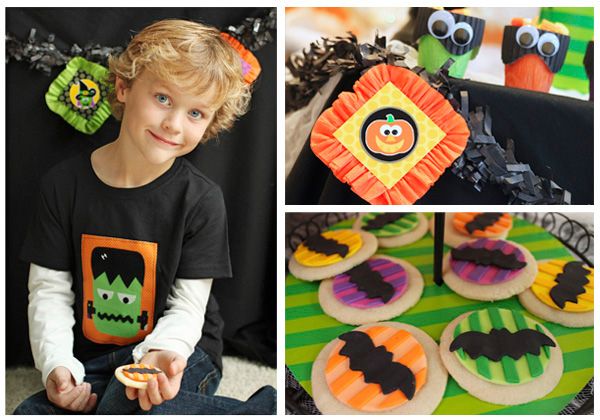
The children were overjoyed to see all of the sweets and goodies at the party table including gumballs and candies, a homemade two-tiered chocolate cake and gorgeous decorated cookies that I found at HomeGoods. My personal favorites were the cookies with fondant toppers made by Brittany at Edible Details. The lady is amazing and perfectly coordinated her creations with the Halloween characters from Amanda's Parties To Go Halloween printable set.

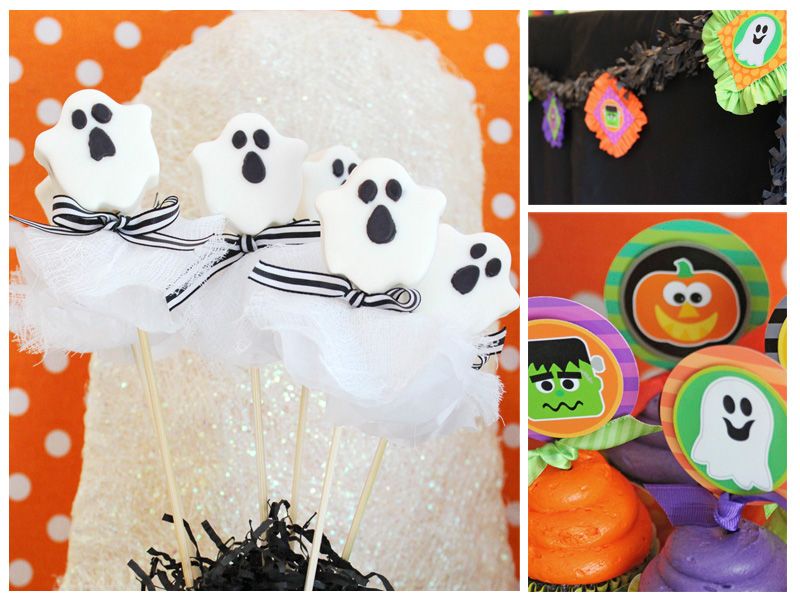
I think the children loved the OREO GHOST POPS most which I made myself using a mold from Spinning Leaf and then attached to wooden skewers and added some ghostly embellishments of cheesecloth and white tissue paper. The candy kabobs were a hit, too, and so easily made using some ghost Peeps, peach gummy rings, Oreos and a cute little candy corn sucker I found at Michaels.

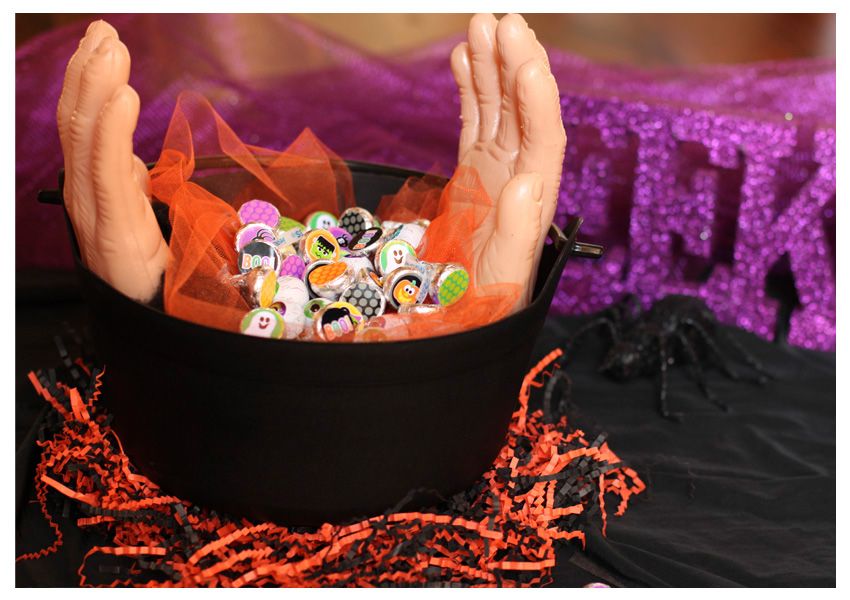
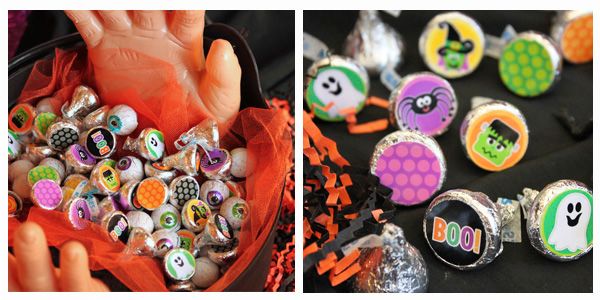
The little stickers for the Hershey's Kisses are actually a FREE DOWNLOAD if you want to grab them to make some quick Halloween treats. I placed them in a witches'  cauldron and added some Dollar Tree hands to make things a little more fun for the kids. And the chocolate cakes with the non-pareils are a quick little project that I've got a tutorial for HERE.

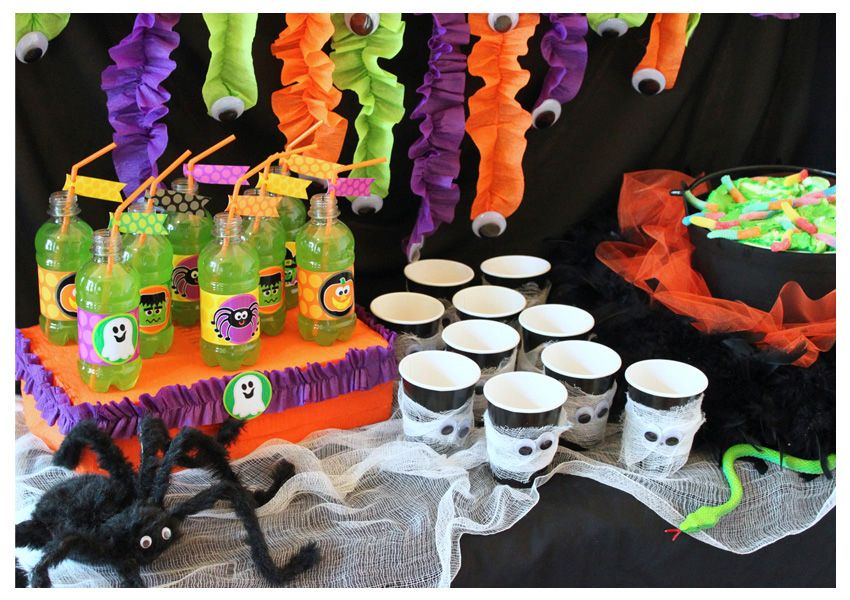
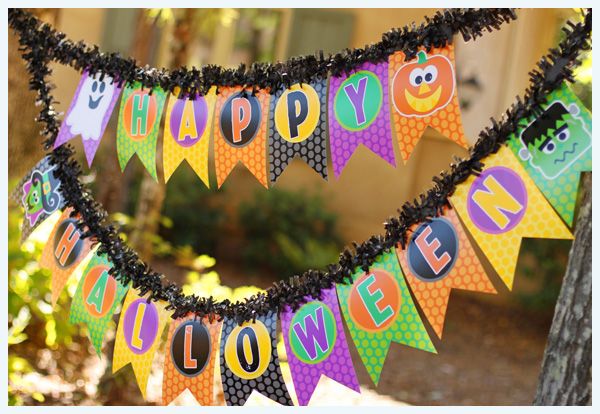
With a vibrant orange polka dot fabric for the backdrop and some adorable ghosts I found at TJ Maxx, the party table was sure to please the littlest of party guests. The garland on the table front was created using the Halloween printable logos and matting them with some colorful gathered crepe paper. The pieces were then hot glued to black tissue fringe from Sweet Shop LuLu.

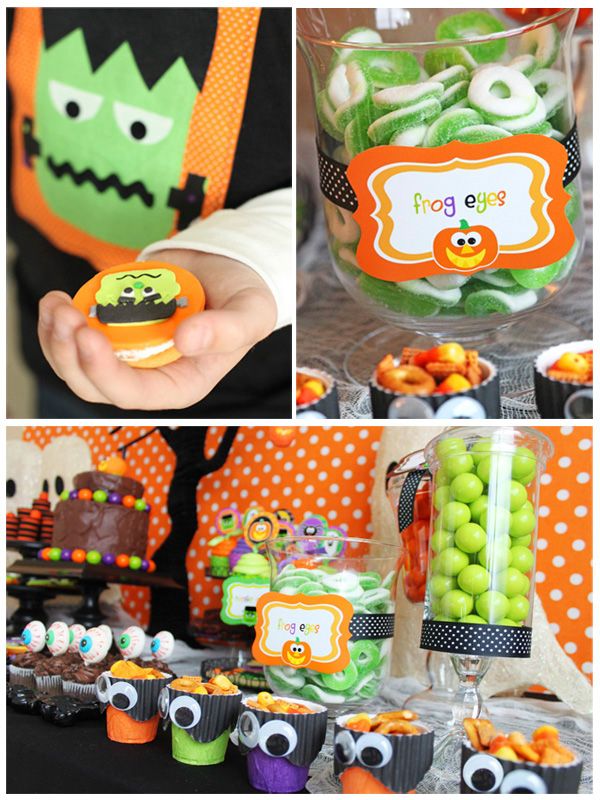
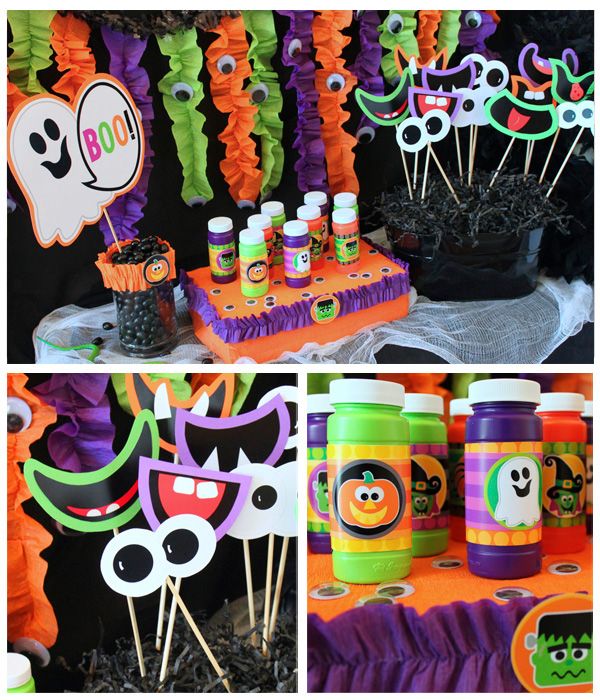
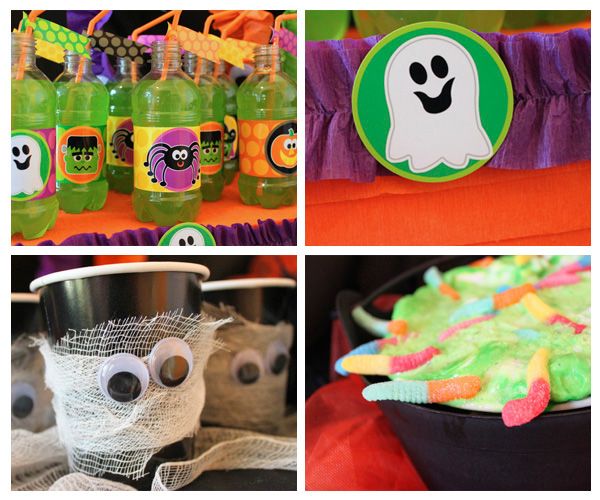
I love crepe paper because it's readily available, inexpensive and comes in a wonderful array of colors. I used it to cover plain cardboard boxes for table displays  and to create the fun googley-eyed snack cups, too. Then I carried both the googley-eye idea and the crepe paper to other tables by creating a fun garland to use as a backdrop and table skirt.

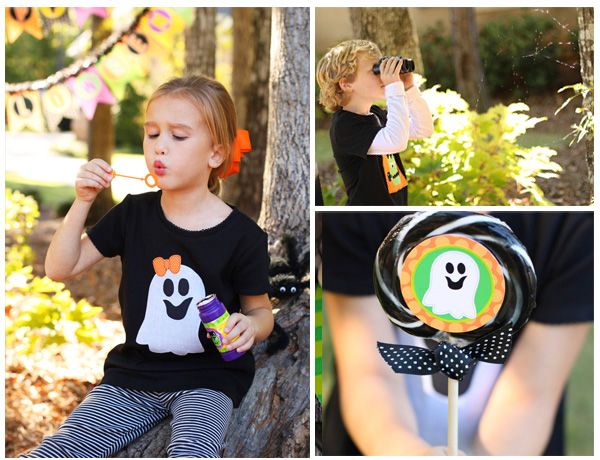
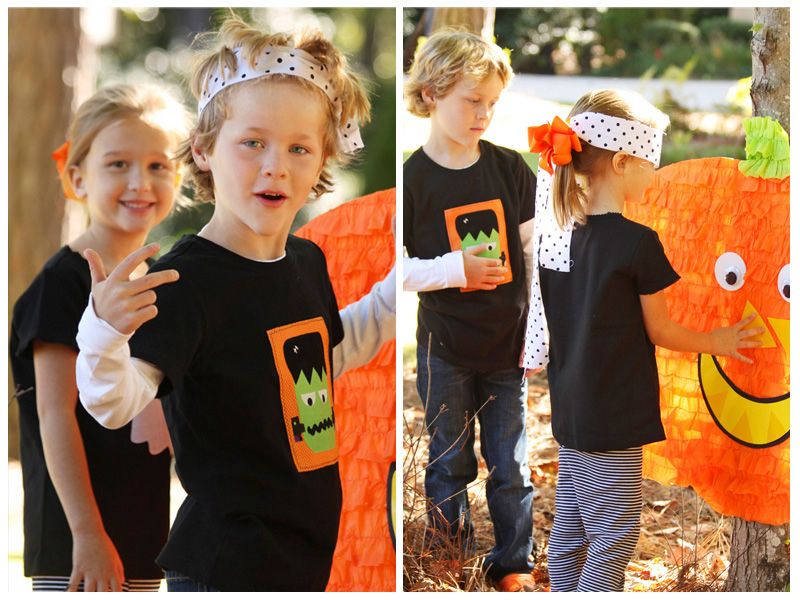
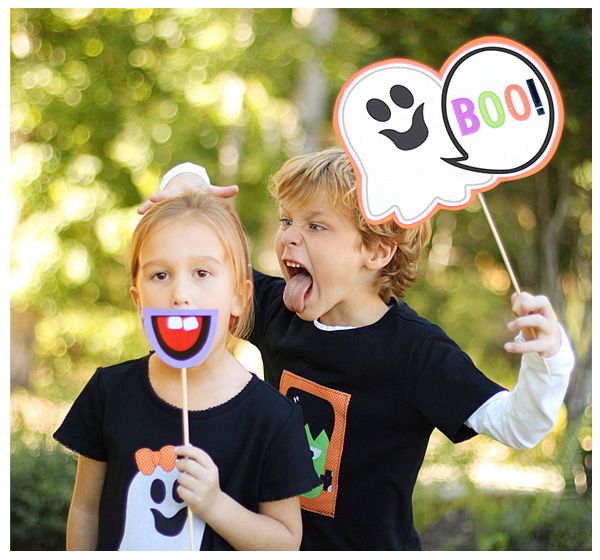
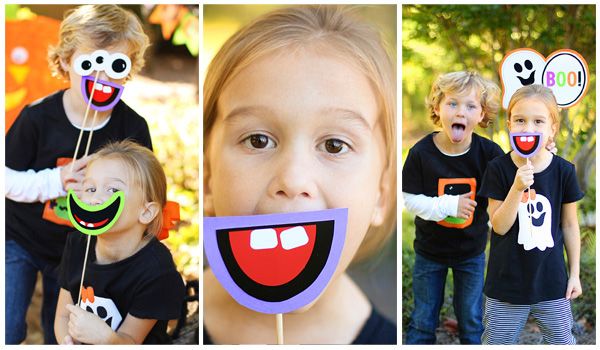
After loading up on sweets, the kids (and parents!) were ready to head outside for some outdoor fun. I made a simple Pin the Tail on the Pumpkin game using foam core board, orange and green crepe paper and some printable cut outs for the mouth and nose pieces. Reagan and Jacob especially loved the photo props as you can see from the pictures!

The children's adorable appliqued shirts were made by Little One Boutique and couldn't have been cuter for the party. The Frankenstein shirt was a top-seller already (how lucky was I that it matched my printables!). Sweet Dawn then  specially made Reagan's ghost shirt to match the ghost from the printables collection.

To complete the Halloween party fun, each guest was offered a choice of take-home gifts from the party favor table including bags of eyeball chocolates or a favor "on a stick" which was a small box of candy attached to a wooden skewer with crepe paper ruffles.

VENDOR CREDITS:


Party Styling and Photography:  Amanda Parker
Party Printables: Amanda's Parties To Go
Fondant Toppers: Edible Details
Cake: Publix with 3D fondant topper from Edible Details
Cupcakes: Publix
Children's Shirts: Little One Boutique
Ghost Oreo Pops - molds from Spinning Leaf, homemade
Decorated Cookies: Home Goods
Backdrop fabric: Hobby Lobby
Ghosts and Tree on dessert table: TJ Maxx
Ribbon: Hobby LobbyMichaels
Tissue Fringe: Sweet Shop LuLu
Sticker label paper: Online Labels

Thursday, October 20

{Guest Post} Monster Party Tutorials

Hi! It's Kristyn from Lil' Luna! Amanda posted yesterday about my little one, 
Gavin's Monster Birthday party.

So much fun stuff went down at that party
and I couldn't have done it without Amanda!

She's the best, and was my biggest helper!

With her Monster Bash Party Collection I was able to make some fun, easy and cute crafts for the party including Party Hats and Party Bags.

They were simple to do.


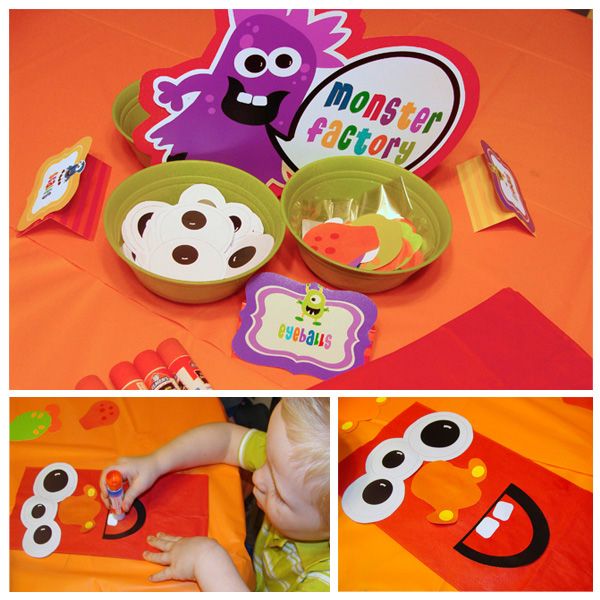
For the PARTY BAGS all you need is:

-Paper Bags
-Monster Parts 
-Glue Sticks


From there you can just let the kiddos do the rest, by letting them pick out their monster parts and gluing it to their bags. Not only were the bags super cute, but they were perfect for catching all the fun goodies and candy that came from the Monster Pinata we had.
___________________________________


For the PARTY HATS all you need is:

-Party Hats
-Hot Glue Gun
-Monster Parts
-Crepe Paper
-Sewing Machine

1. Begin by taking one or two (I used two) strips of crepe paper and sew a straight stitch down the middle. Some machines will ruffle it on it's own, but mine doesn't, so I was sure to leave the stitch open at the end. From there, you pull one string and scrunch it as you go, which ruffles the crepe paper.


 2. From there you can hot glue the crepe paper all around the bottom of the party hat and glue on your monster parts.

Easy and Cute!!


And lastly you can make this super cute
GOOGLE-Y-EYE Frame!

All you need is:

-Wood frame
-Foam Brush
-Google-y Eyes
-Hot Glue Gun
-Paint

1. Paint your frame and let dry.

2. From there you will hot glue the eyes all over the frame.

Another easy but fun thing to do.

What I've learned is it's all in the DETAILS!
Simple but cute things like these can make a party FABULOUS!

Thanks again Amanda for helping to make such a fun and memorable party for my little monster! 


XO - Kristyn

Wednesday, October 19

{MONSTER PARTY} feature from Lil' Luna

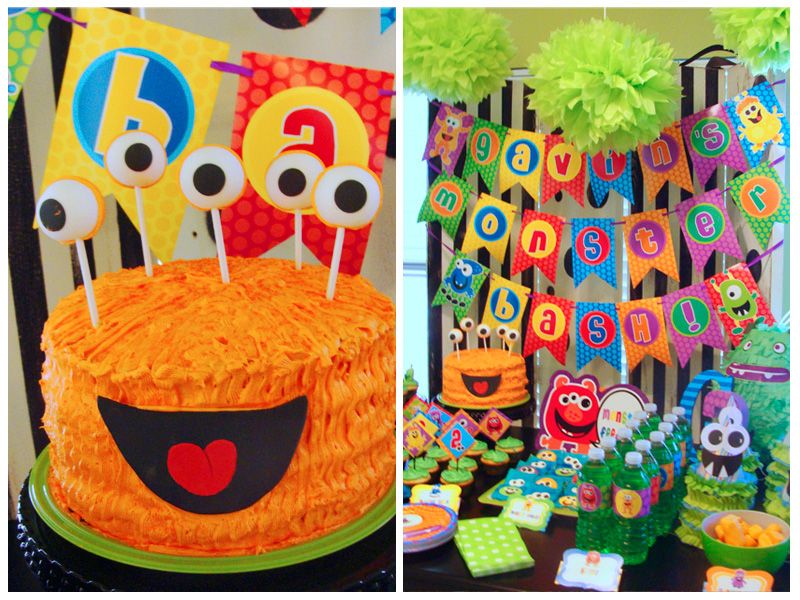
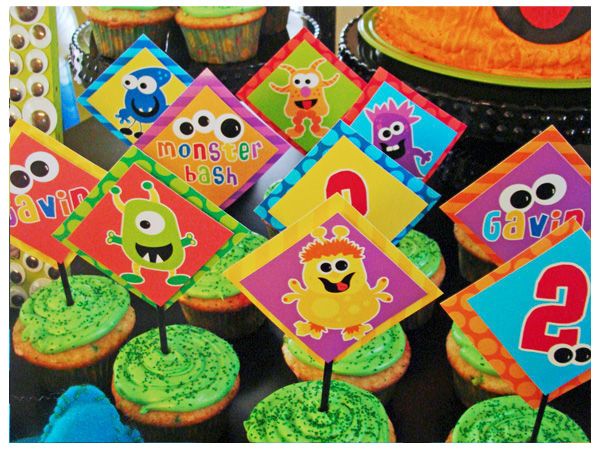
I've been looking forward to sharing this fun party with you today! Kristyn over at Lil' Luna wanted to have a MONSTER BASH for her little monster, Gavin, to celebrate his 2nd birthday. So I went to work designing a fun set of Monster Party printables and an Invitation, complete with a silly cast of characters that I truly just love!

Photobucket

Photobucket
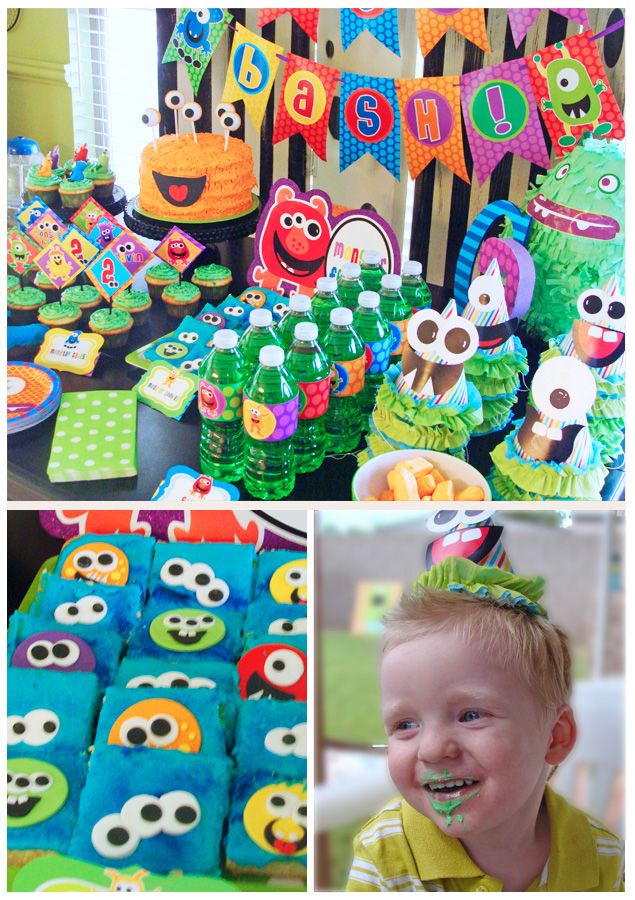
What a fun party table! Little monsters and bright colors everywhere!
Kristyn collaborated with a few party girls in the business to make Gavin's party even more special.

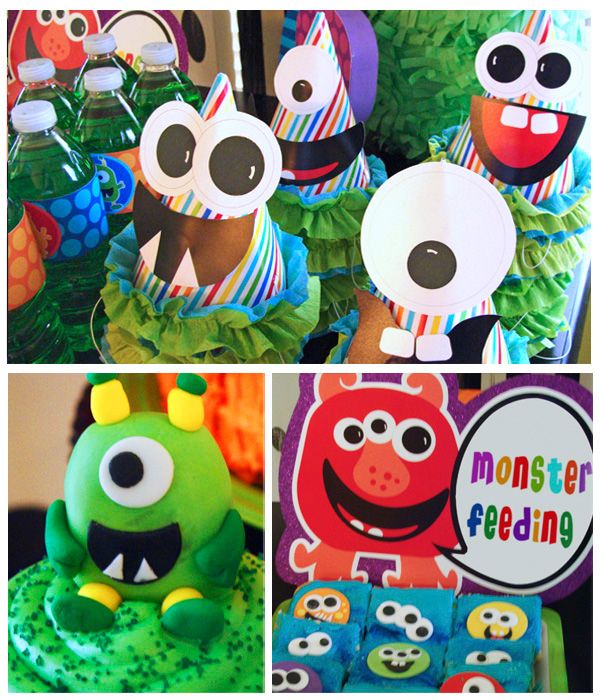
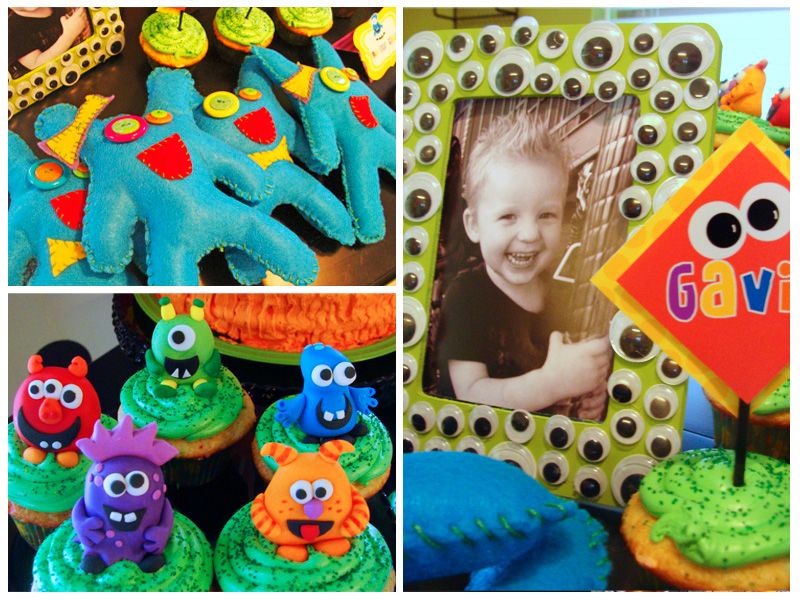
Brittany from Edible Details made the ADORABLE monster eyeballs and mouth on that awesome monster cake, and that's not all.... just look at those amazing fondant toppers she created to match the Monster party printables characters in the photos below. She simply stuns me with her little creations. When I first saw the 3D characters, it was like my designs had come to life!

Photobucket
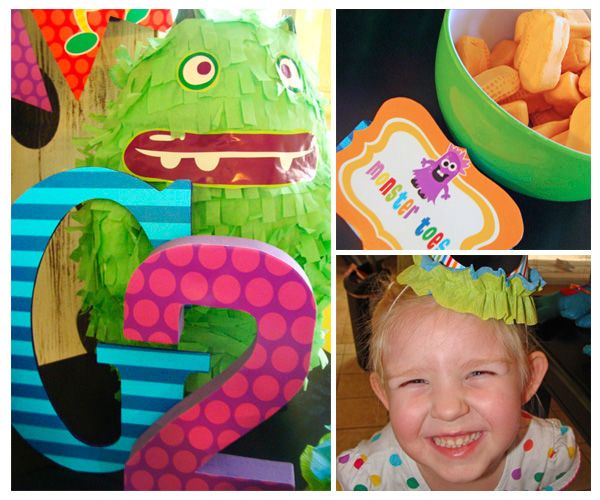
I love the party hats Kristyn made for each of the kids out of scrapbook paper, some ruffled crepe paper and the Monster party printables eyes and mouth cut outs. Super silly!

Photobucket

Photobucket


Photobucket

Photobucket
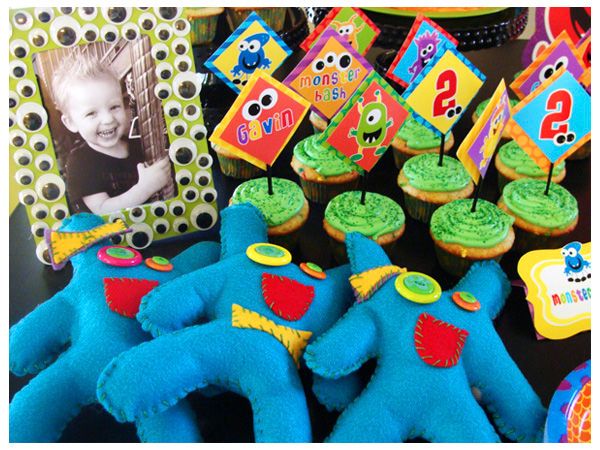
Each of the guests was given his own little felt monster that Kristyn made from a kit by Freckles Crafts

Isn't googley eyed frame a fun idea! Kristyn made it in just a few minutes by gluing craft store eyes to a frame she already had on hand.

Photobucket
Crafts and games are a must have at any children's party. Kristyn made sure the kids were occupied and having fun by making a "Monster Factory" table where the kids made their own monsters out of monster parts and a solid color paper bag. To make it simpler for the kids, she had the monster parts (from the Monster party printables) already cut out and ready for the kids to glue on with glue sticks.

Photobucket
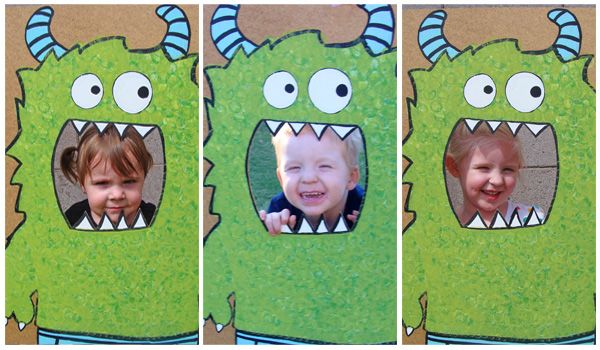
And isn't this idea fun! Kristyn used a new line of Martha Stewart paints from Plaid to create a Monster Bean Bag toss game. So cute! And best of all, it made for a great photo prop, too!

Photobucket
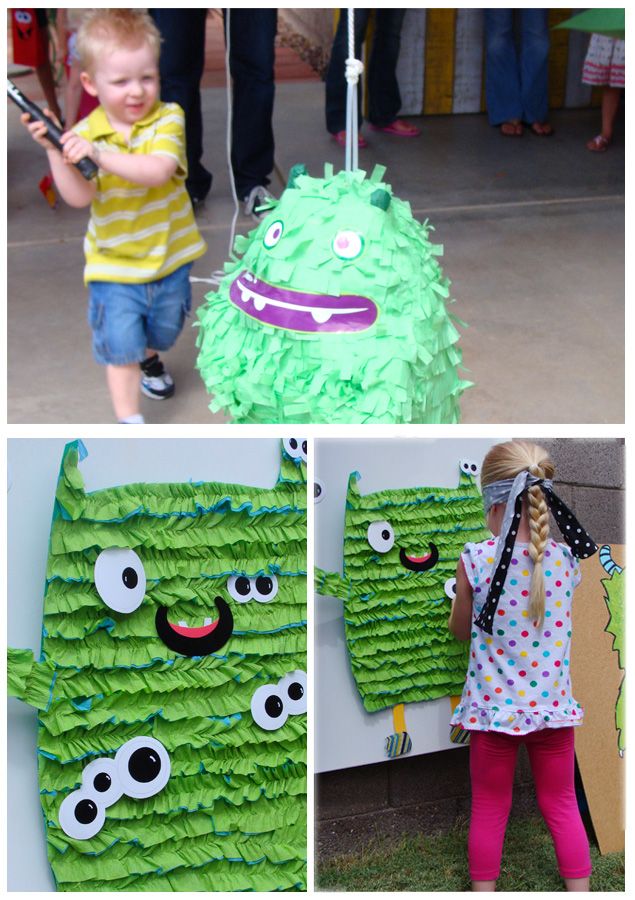
What a great find the monster pinata from Target was!
Super easy and quick and the kids always love a pinata.

And the Pin the Eye on the Monster game that Kristyn shared a TUTORIAL for earlier this month, was a real hit, too! Great job, girl! It looks like the kids had a fabulous time!


VENDORS:

Kristyn, Lil' Luna: Party styling, crafting
Amanda's Parties TO GO: Party Printables and Invitation
Edible Details: Monster Cake toppers, 3D Fondant monster characters and fondant cookie toppers
Freckles Crafts: Felt monster craft kits
Martha Stewart paints for Plaid: Monster bean bag toss paint
Target: Pinata